
Our app is designed to streamline your photo editing experience with a user-friendly interface and powerful features. Whether you're a professional photographer, a marketing agency, or an individual seeking to enhance your photos, our app offers intuitive tools to transform your images effortlessly. With features like advanced editing options, seamless integration with cloud storage, real-time collaboration, and secure payment options, our app empowers you to achieve stunning results with ease.
To create an account, simply navigate to the sign-up https://app.hdrfy.com page and fill out the required information, including your email address, username, and password. Once you've submitted the form, Admin has to activate account. Until that you can go thru the app features, check pricing but cannot order any service.
If you already have an activated account, enter your username and password and click the 'Log In' button to access your account dashboard.
Once account is activated your account, you can order services through our web app and mobile app
Start by logging into your account and navigate to the Account Detail under My Account section. Here, you'll find options to edit various details such as your First Name, Last Name, Time Zone, Country, State, City and personal information associated with your account. Make the desired changes, ensuring accuracy and security, and then save your updates.
Resetting your password is a straightforward process to ensure the security of your account. If you've forgotten your current password or wish to update it for any reason, simply navigate to the "Change Password" menu within your account settings. Here, you'll be prompted to provide your old password for verification purposes, followed by entering your desired new password and confirming it.
A catalog is a comprehensive listing or collection of services by category.
1. Click on the desired category to view available services.
2. Browse through the list of services and select the one you need.
3. Enter the required details, including the number of files, title, details, instructions, target date and time, and upload any necessary media.
4. The total cost will be calculated automatically based on the unit price and the number of files.
5. Click the "Order Service" button to proceed to the order page.
6. Confirm your order details and complete the payment process using your digital wallet.
7. Once the payment is successful, your order will be processed, and the requested service will be delivered within the specified timeframe.
Simplify your payments with our digital wallet and PayPal options. Store funds securely and enjoy seamless transactions for our services. Choose the convenience and security of our trusted payment methods.
Top up your digital wallet effortlessly using PayPal. Seamlessly transfer funds from your PayPal account to recharge your wallet, ensuring you always have funds available for placing orders. Enjoy the convenience of instant recharge and secure payments with our integrated PayPal payment option.
1. Click "Add Money": Start by navigating to your dashboard and locating the "Add Money" button.
2. Enter Amount: Input the amount you wish to add to your wallet and proceed to the next step.
3. Proceed to PayPal: Upon confirmation, you'll be directed to a secure PayPal payment page to complete the transaction.
4. Log In: Log in to your PayPal account using your credentials to authorize the payment.
5. Complete Payment: Follow the prompts to confirm the payment and authorize the transfer of funds from your PayPal account.
6. Return to Our Page: After a successful transaction, you'll be redirected back to our platform.
7. Wallet Recharged: Your wallet will now reflect the added funds, ready for seamless transactions.
1. Navigation: Access the Projects page from the main menu, where you'll find options to view projects categorized into "All Projects," "Rework," "In Progress," and "Cancelled."
2. Filtering: Upon selecting "All Projects," utilize the filter options at the top to refine your search based on specific dates or the last update. Choose dates from the calendar or navigate through days using the left and right arrows. Clicking the "Clear" button resets all filters.
3. Real-Time Updates: Experience real-time project filtering as your preferences are applied instantly, providing you with accurate and up-to-date results.
4. Pagination: View filtered results with ease through convenient pagination, ensuring seamless navigation through multiple project listings.
5. Last Updated Filter: Enable the "Last Updated" filter to refine results based on the most recent status changes on a particular date. Alternatively, disable this option to filter projects by their creation dates.
Under each project there are 4 icons , Update, Support, Media, Review. With these options, you can effectively manage your projects, communicate with our team, and provide valuable feedback to ensure the success of your endeavors.
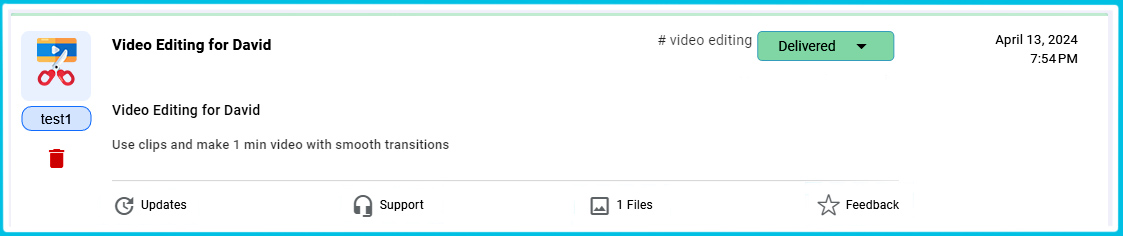 1. Update:
 If you need to cancel an order, follow these simple steps directly from your hdrfy app
4. Await Approval: Our team will manually review your cancellation request and cancel the project. Please allow some time for processing.
5. Receive Refund: If your cancellation request is approved, the payment made for the project will be refunded to your digital wallet.
